What is Jira
Jira is a software application developed by company named Atlassian. Jira is a very popular tool that allows teams to track issues, manage projects, and automate workflows. Agile development teams widely use this tool for managing their projects. Jira is also used as an issues and bugs tracking system.
How to install Jira Server for your Team use?
Below section lists the steps to follow to install JIRA Server to your Team.
Use Server-Side Jira Instance
System Requirements
Since JIRA is a web-application, it follows the concept of client/server. It means that JIRA can be installed centrally on a server and users can interact with it through web-browsers using a website from any computer.
- Browser − JavaScript should be enabled, the user is recommended not to use any script-blocking tool like NoScript to access full functionality of JIRA.
- JDK/JRE − It is recommended to update JRE/JDK with the latest version. JIRA 9.0 recommends using JRE/JDK version 8.
Since our scope is to consume the JIRA application as end users, we can ignore the server-side requirements.
Steps are as follows:
- JIRA follows the Client/Server concept. At the server side, JIRA must be installed before using it as end user.
- At the server side, JIRA must connect with relation database to store issues/application data.
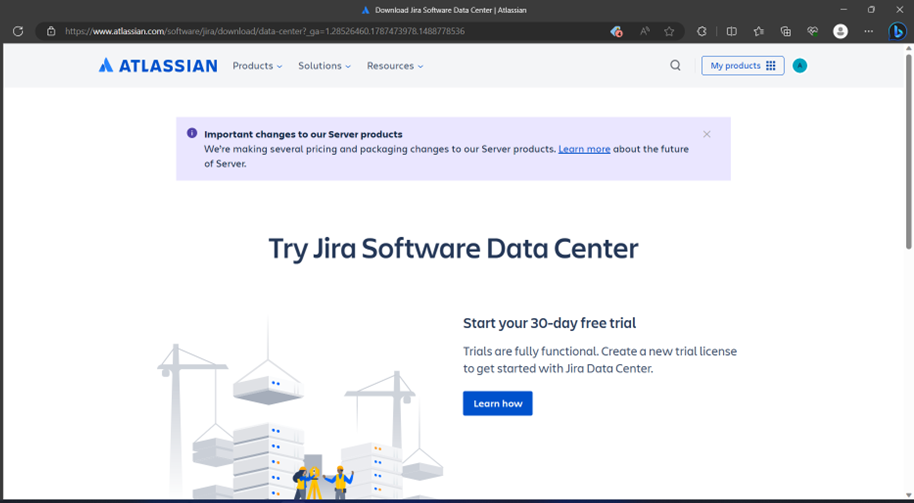
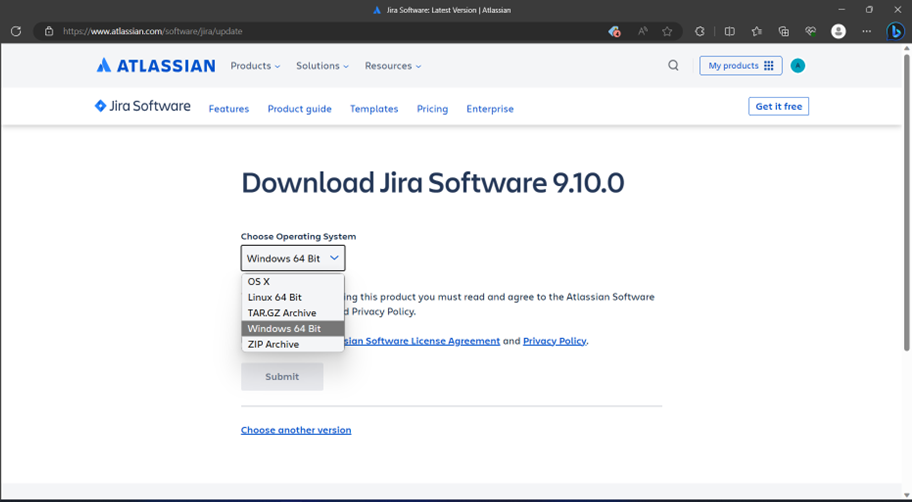
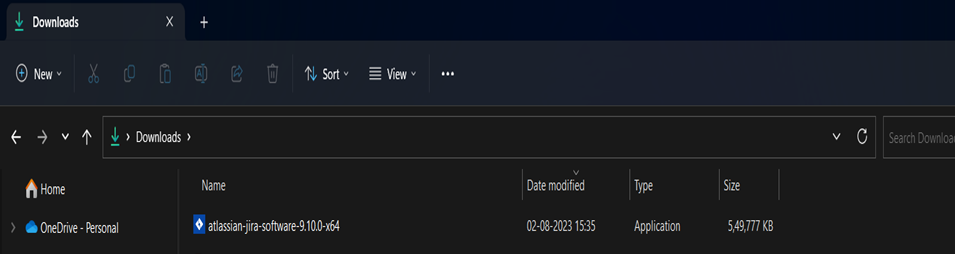
- Download the JIRA Windows Installer.exe file from the following link − https://www.atlassian.com/software/jira/download?_ga=1.28526460.1787473978.1 488778536.
- Select the OS type and click on Download.
The following screenshot shows how to download the .exe file for a specific OS.
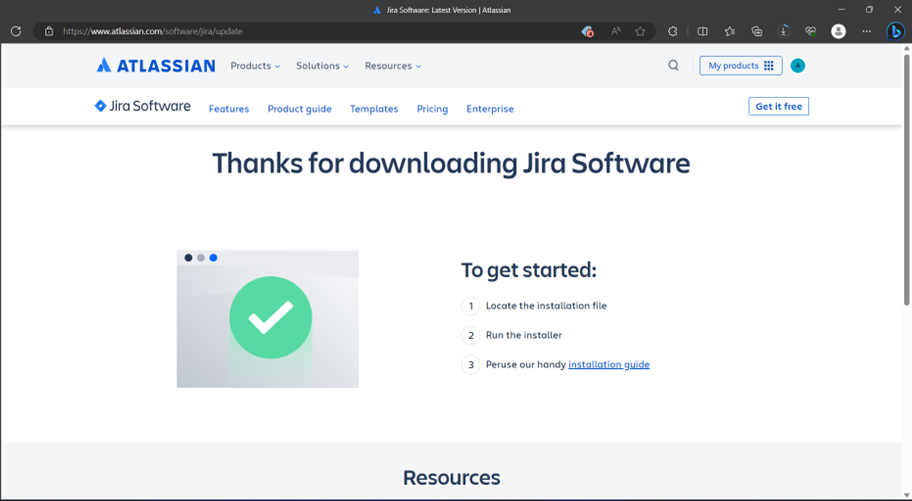
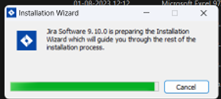
Run the .exe file to run the installation wizard. The following screenshot shows the downloaded .exe file.
After clicking the .exe file, the Run confirmation pop-up displays, click on RUN. The following screenshot shows the RUN confirmation pop-up.
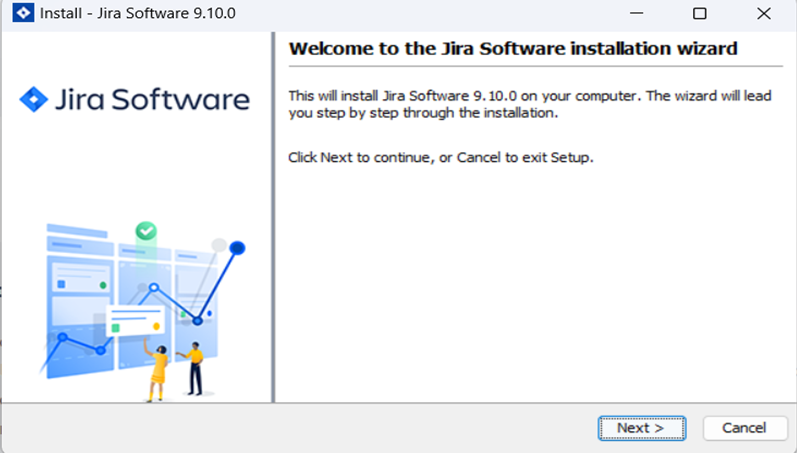
The following JIRA installation wizard displays, click on Next.
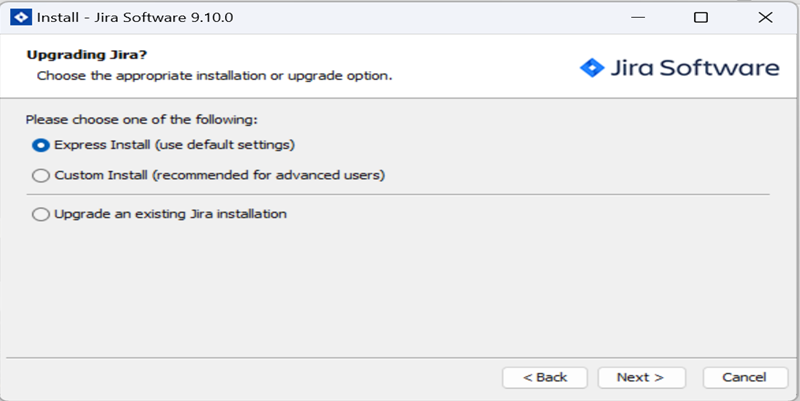
Choose the appropriate installation option as shown in following screenshot and then click on Next.
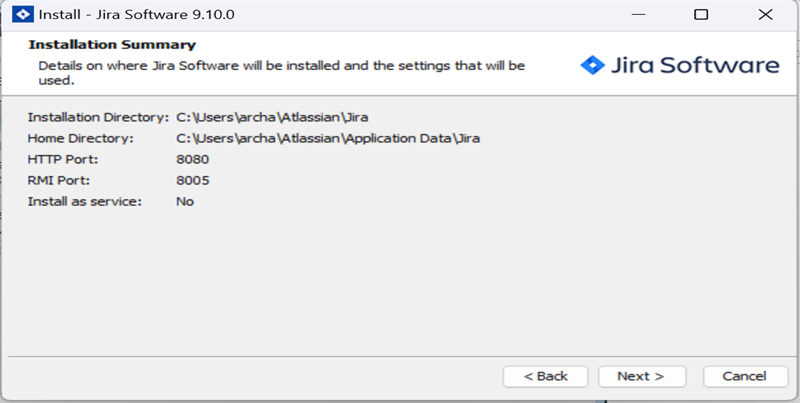
The installation summary is displayed with the Destination Directory, Home Directory, TCP Ports, etc., as shown in the following screenshot.
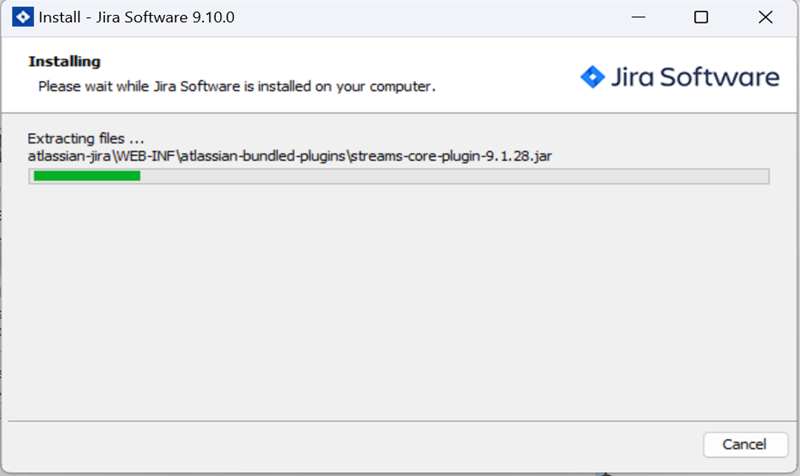
Click on Install. JIRA will start installing as displayed in following screenshot. It takes a couple of minutes to finish the installation.
After installation, JIRA will be started automatically if the check box to “Start JIRA Software 9.10.0 now” is checked. Then click on Next, if not, it can be accessed using the appropriate Windows Start Menu shortcut.
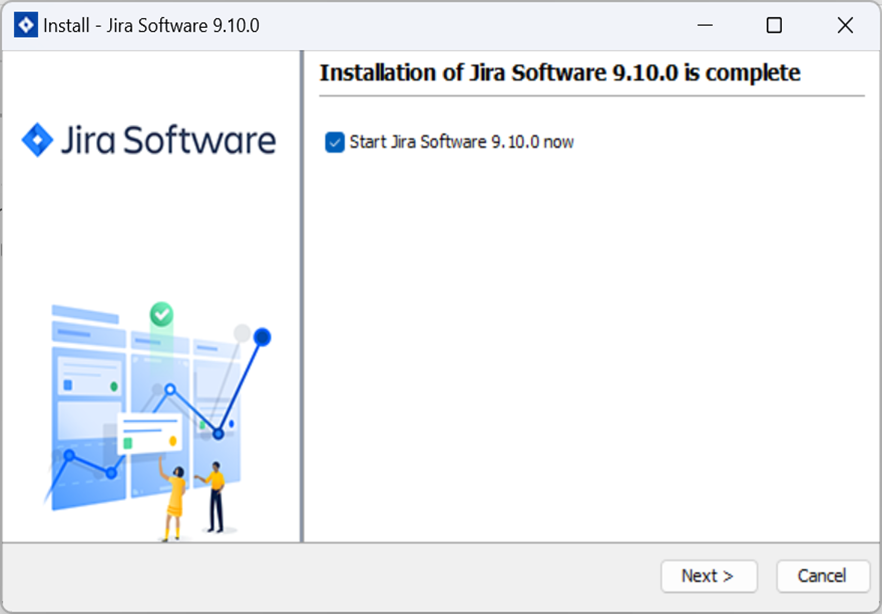
Click the Finish button.
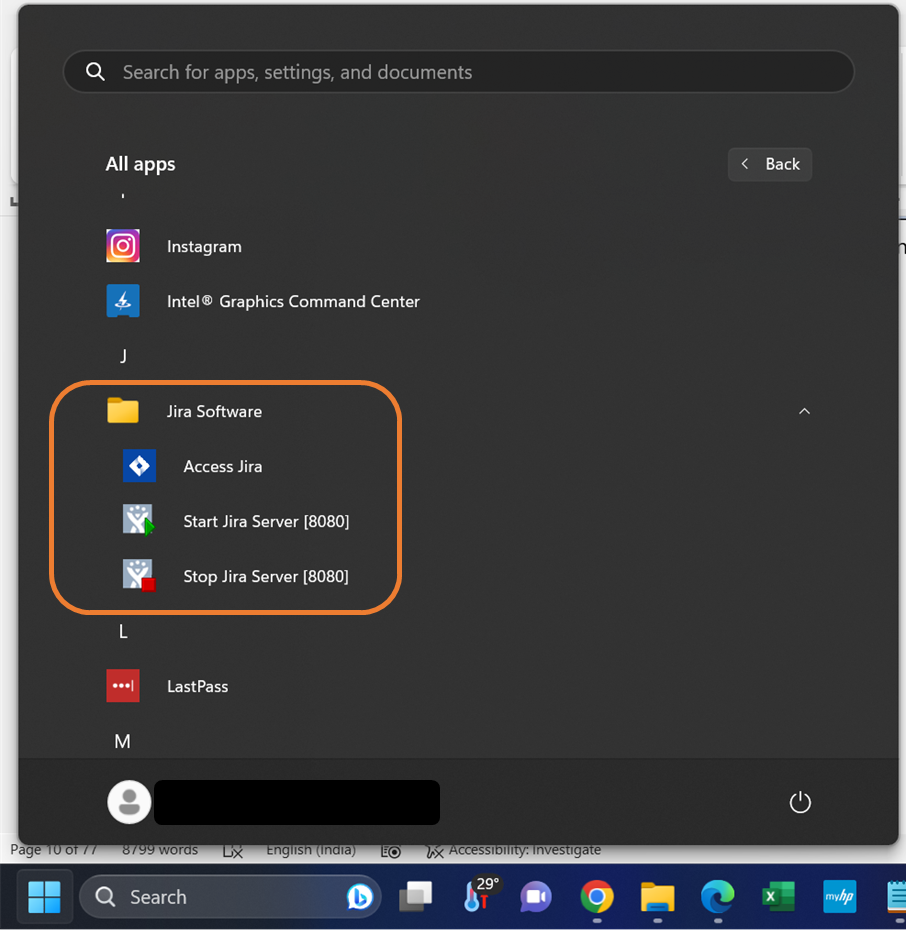
The installer will create the following shortcuts on the start menu −
- Access JIRA
- Start JIRA Server
- Stop JIRA server
- Uninstall JIRA
The following screenshot shows the above-mentioned shortcuts −
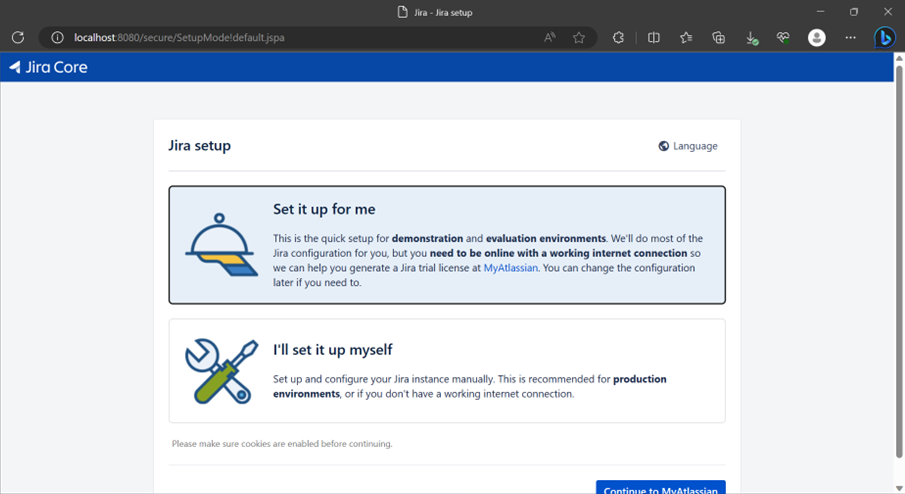
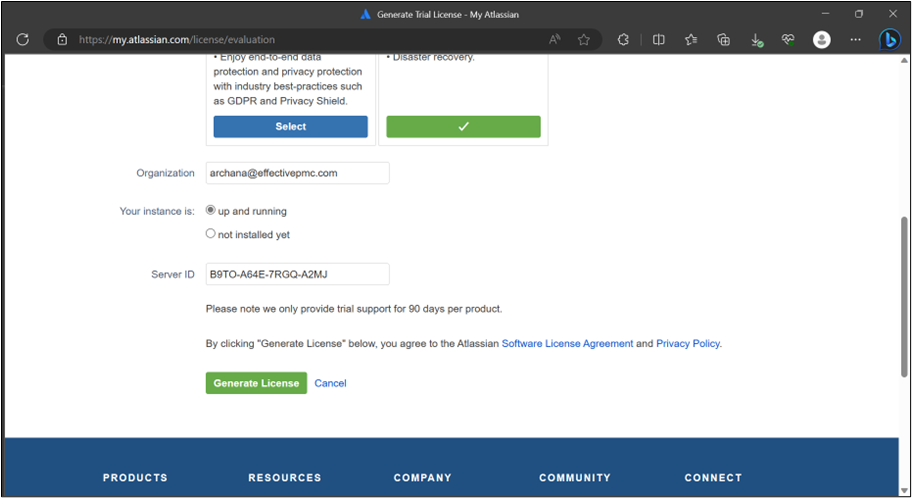
Select the license type and enter organization name as shown in following screenshot −
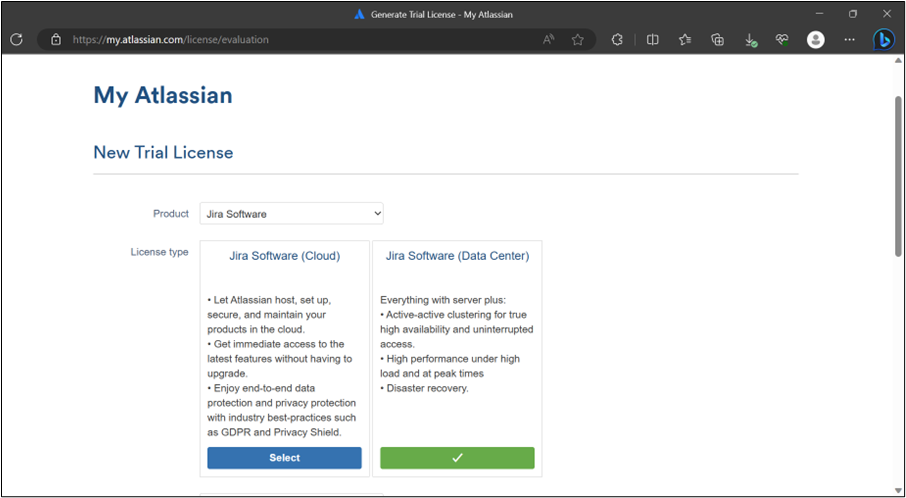
Click on Generate License
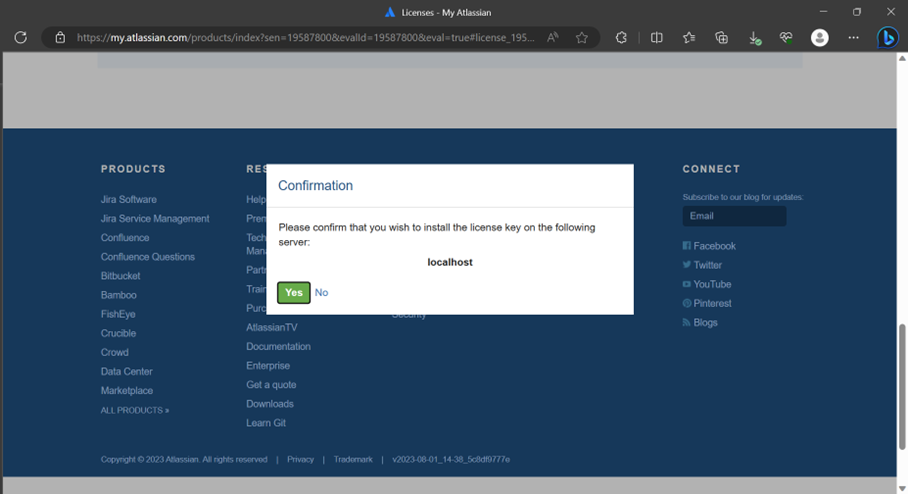
A confirmation pop-up will display as shown in the following screenshot. Click on Yes.
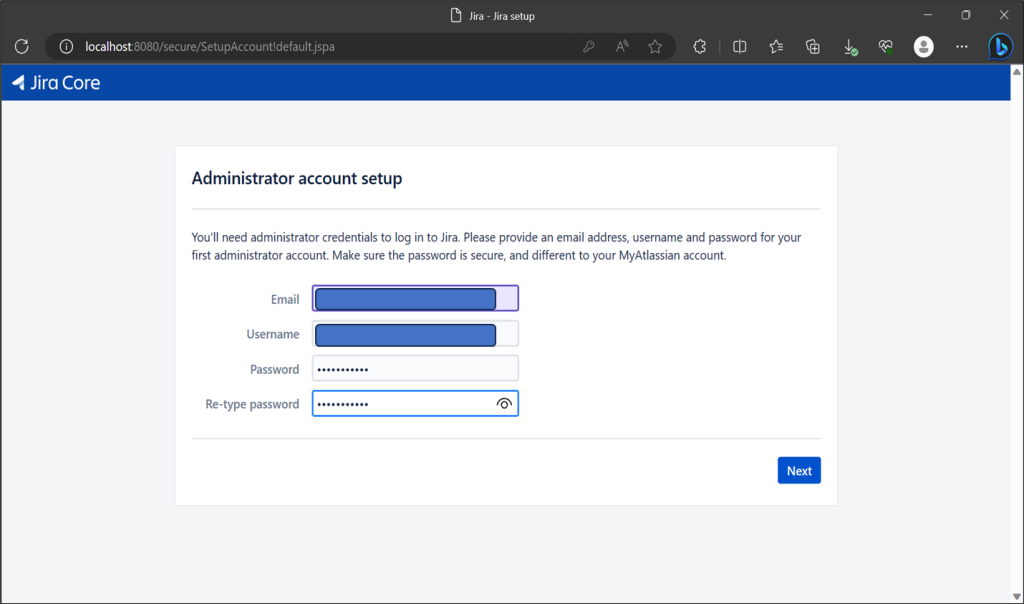
Set up the administration account as displayed in the following screenshot.
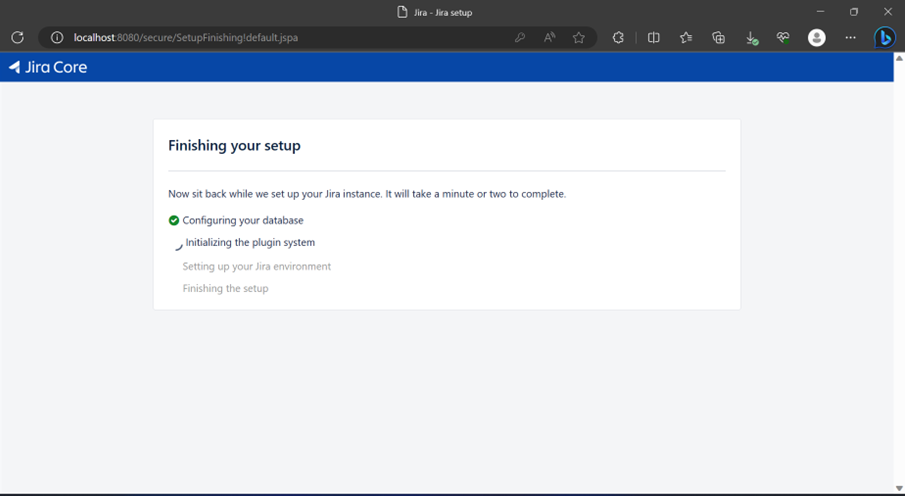
JIRA will automatically finish the setting-up as shown below −
Once JIRA finishes the setup and starts running in the server, the user can access it from a browser on any computer with network access to the JIRA server.
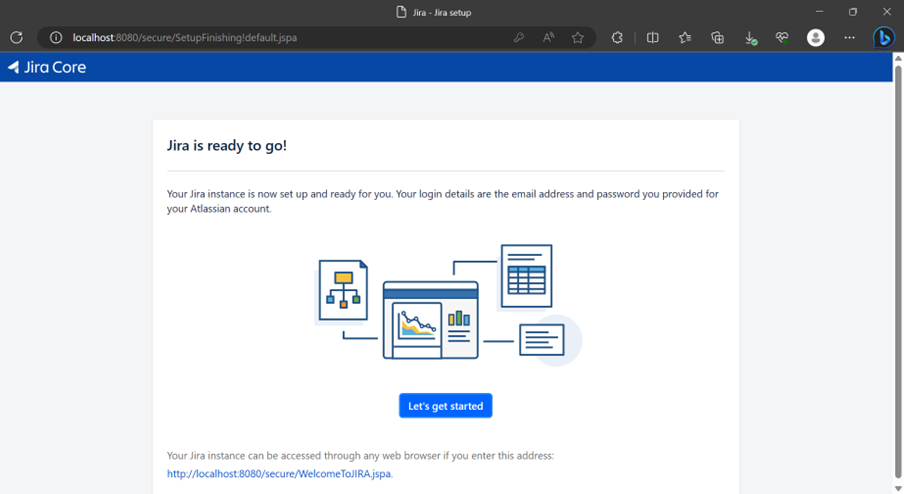
Link for the server is displayed at the bottom of the screen.
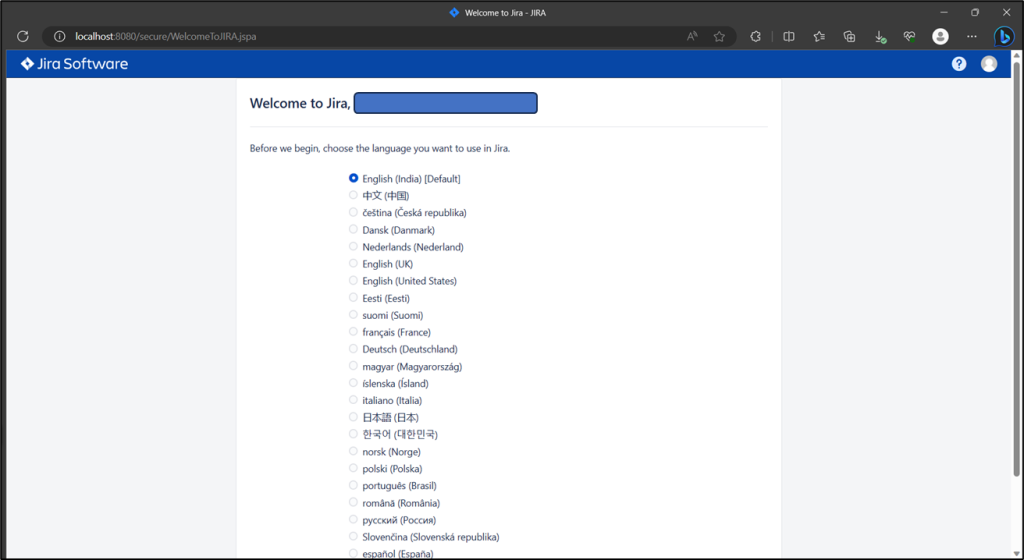
Choose the language.
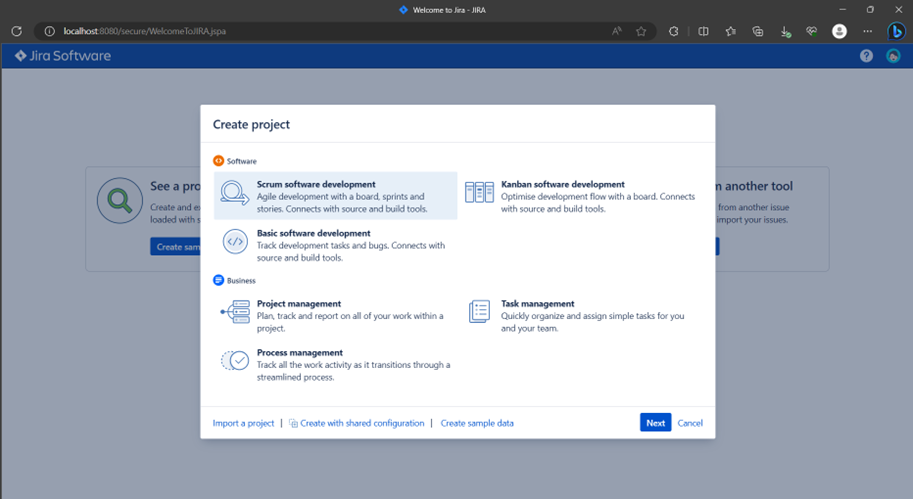
Now you are Ready to Go….!!!
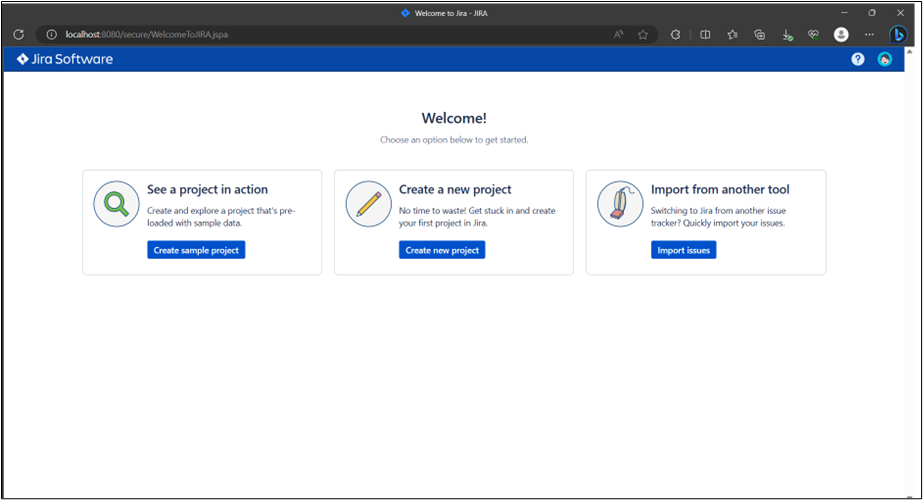
How to Login to Jira?
To login to JIRA, go to your sample website. (Like System Dashboard – JIRA) It will open a login page. Fill in your registered email address/username and Password. Click on the Login button. The following screenshot shows how to login into JIRA using your credentials.
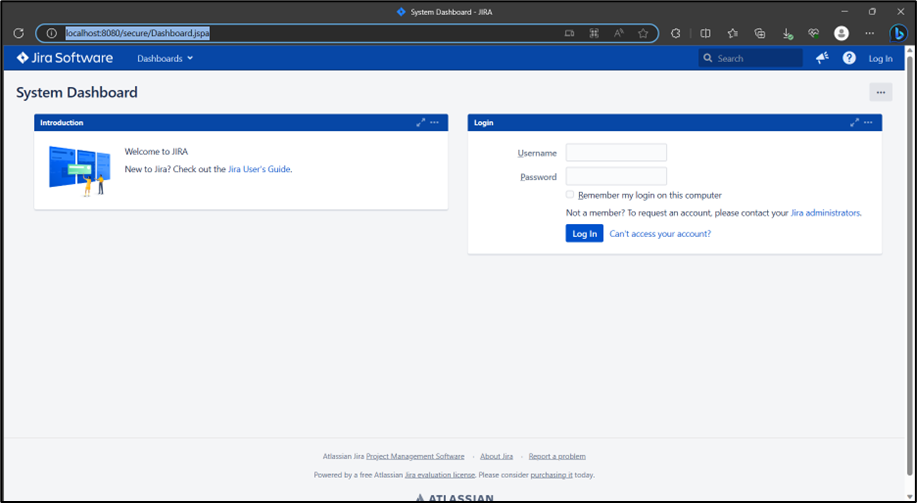
Successful Login
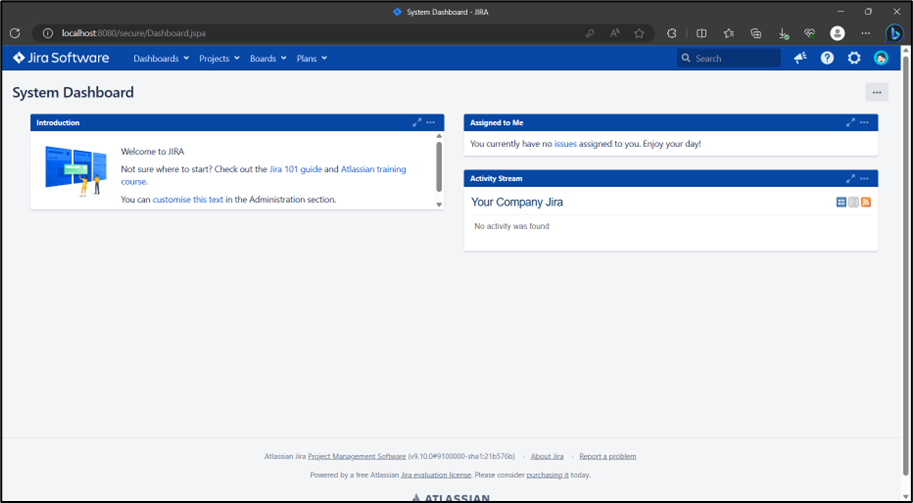
On a successful login, the system dashboard will display if the account is associated with any project by the admin, or if a user can create a sample project as explained in the earlier chapters.
The following screenshot displays the welcome page/dashboard of JIRA on a successful login.

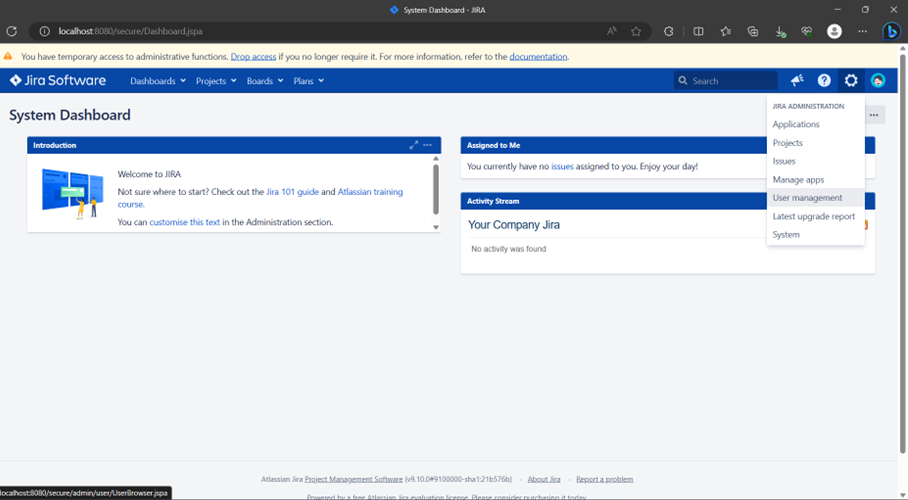
What is on Jira Dashboard?
After logging into JIRA, the Dashboard is the first page that shows up. The Dashboard is customized by the Admin. Based on the roles, the admin can set the access of JIRA. Even the admin has the right to change colors and the logo of JIRA.
Important Points of the Dashboard
Following are some of the most significant points the users should understand before using the JIRA Dashboard −
- The navigation bar, present at the top of the JIRA page, will be the same across all the pages/screens of JIRA. Dashboard, Projects, Issues, Boards and Create are the main links. These links have many sub-links to navigate other functionalities.
- Navigation bar contains links that provides a quick access to the most useful functions of JIRA.
- Just under navigation bar, there is a System Dashboard.
- The information provided in the system dashboard area can be customized by the Admin.
- By default, it has three main sections – Introduction, Assigned to Me (displays Issues list assigned to users) and Activity Stream (Activities done by the users).
The following screenshot shows the overview of the Dashboard page of JIRA −
Click on “Administration” icon to access “Administrative Task Menu” to create Global Projects or User Management or Issue Management.